“If an egg isn’t cooked the way you want it, it’s the most disappointing thing. The only thing I know as disappointing is a bath that’s not hot enough.”
That’s straight from the gob of Nigella Lawson, famous Brit cook and jean-jacket wearer, and I completely agree.
I’ve experienced both of these disappointments in the last week, but she was there to understand and pick me back up. I sought comfort and Nigella delivered with her
Chicken Mushroom and Bacon Pie.
Her recipe is lovely, however I made a few adjustments, adapting to what I had on hand. No Marsala, for one. Love of carrots, for another. What I enjoyed most about this recipe was the ease of making it. Nigella really is serious about there being “no fuss” in her food. Besides two ramekins, the cooking is all done in one pot. It’s also a terrific two-person meal—I get tired of so many delicious dishes meant for four, six, and eight.
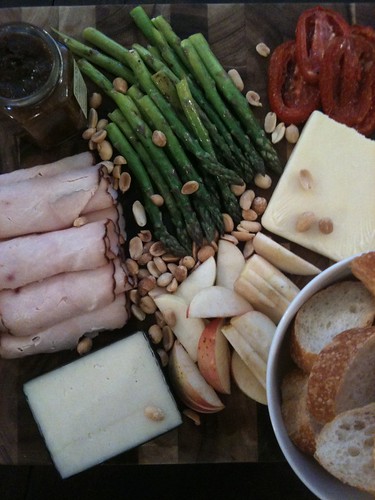
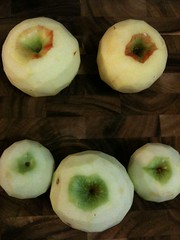
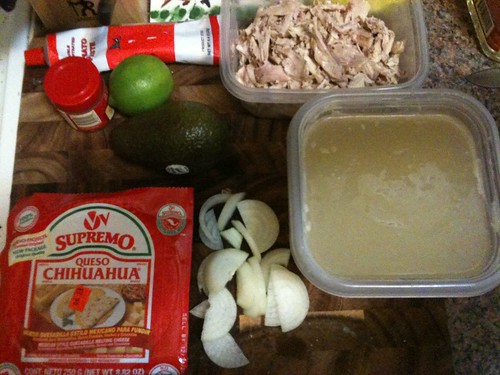
I think that what made this potpie extra terrific was the quality of ingredients. All the veggies came from the farmers’ market. I’m okay with sounding snobby because when you peel a real carrot, the whole kitchen smells sweet, fresh, and slightly spicy. It’s hard to go back to the dry, woody stalks of the grocery store. I bought the puff pastry at Trader Joe’s because I found the simplicity of the ingredient list calming. It’s reassuring to see flour, butter, and salt as the top three components. We got the bacon and chicken from CityProvisions, a delicatessen that specializes in local farms and fresh food. The bacon (which was house-cured) was intoxicatingly smoky and the Gunthrop Farms chicken (which, like all of CityProvision’s meat, was labeled with its farm of origin) tasted, to borrow a term from Julia Child, more chickeny than that of the grocery store.

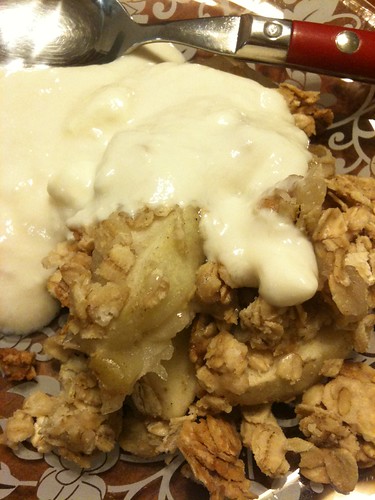
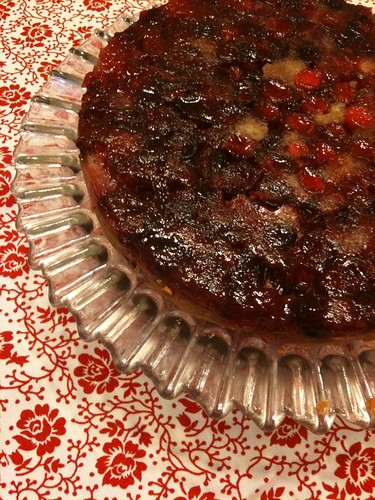
Your spoon crackles through the flaky top crust, revealing a gooey underside and provoking a deeply smoky steam. It dips into the thick filling and arises coated with a rich gravy, carrying chicken and veggies, all of which are tender and flavorful. It’s the kind of meal you eat through foggy glasses, burning your tongue on most bites, not caring to slow down.
I lit my jack-o-lantern for ambiance and enjoyed Nigella’s chicken potpie as a perfect Sunday supper in late October.
Chicken Potpie for two
3 strips of bacon, cut into pieces
1 clove of garlic, diced

2 cups cremini mushrooms, quartered
½ carrot, diced
1 chicken breast, cut into bite-size pieces
2 1/2 tablespoons all-purpose flour
2 sprigs of fresh thyme, leaves separated from stems
1 tablespoon butter
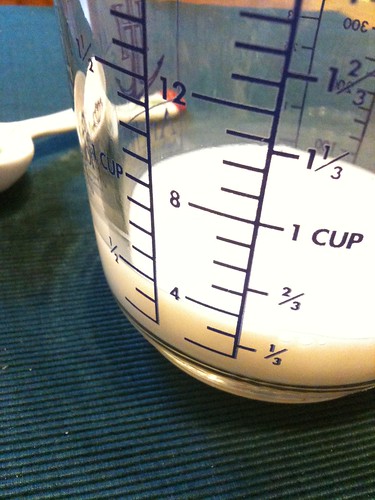
1 1/4 cups hot chicken stock
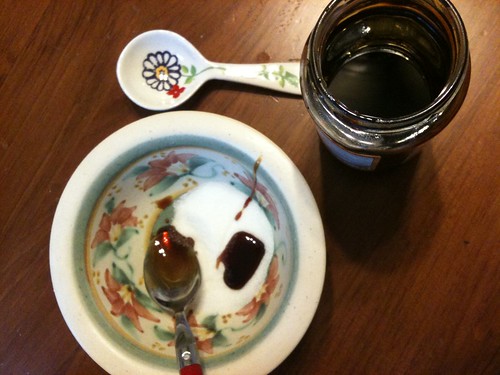
½ tablespoon Worcestershire sauce
½ tablespoon of balsamic vinegar
1 (13-ounce) 9 by 16-inch sheet all-butter ready-rolled puff pastry (defrosted)
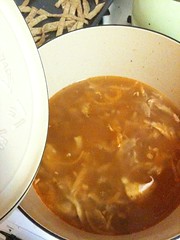
Start by preheating the oven to 425 degrees F. Fry up the bacon pieces in a large saucepan until beginning to crisp, then add the mushrooms, carrots, and garlic.
As veggies soften, toss the chicken with flour and thyme, then melt the butter in the pan. Add the coated chicken and the remaining flour that did not stick to the chicken. When the chicken has begun to brown and the flour has cooked into the butter, add the stock, Worcestershire, and balsamic. Stir to incorporate, allowing the flour to thicken the sauce. Nigella then directs you to “let this bubble away for about 5 minutes.”
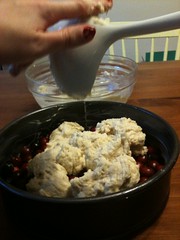
Cut a thin strip of pastry to make a rim on each of your ramekins. That is, lay the strip over the edge of the ramekin and fold it down over the sides. I did mine in three sections, overlapping the strips. Next, cut a lid-sized circle to drape over the top of the pie.
Fill the pastry-rimmed ramekins with the thickened chicken and vegetable mixture and top with the pastry lid. Use a fork to seal the edges.
Cook in oven for 20 minutes, until they “puff up magnificently.”


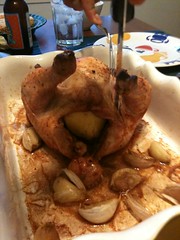
 At 1 pm I put my beautiful Gunthrop Farms chicken—which had been stuffed with lemon, surrounded by garlic cloves, and sprinkled with paprika, as per Laurie’s bequest—into a 300-degree oven, where it would cook for two hours. According to Laurie, “The chicken is done when the leg bone wiggles and the skin is the color of teak.” Super.
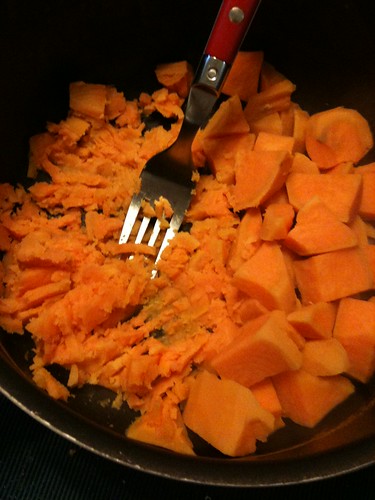
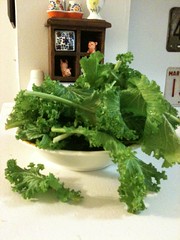
 Because I was roasting a chicken, I decided to do it up. I found four colors of cauliflower at the farmers’ market, along with apples, brussels sprouts, chestnuts, and sweet potatoes. A menu was formed: